The Arenas
The Layout of the Arenas
The Arenas are mirrored courses. You'll have to grab the Bomb at the middle and follow the dashed line through your enemies' side of the map (red) until you reach their base. They'll be trying to do the same, but on your side of the map (blue). Check out the Arenas currently available in the game:
Metal God Arena
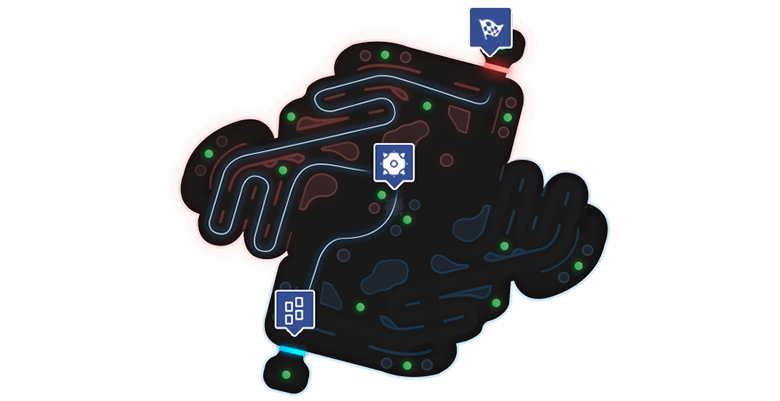
Considered the Coliseum of Metal City, this arena is the main stage for the official Heavy Metal Machines championships. This mirrored battlefield is perfect for testing classic team setups: a transporter, a support, and two interceptors. You must avoid the spots with droppers and rely on teamwork.
Sacrifice Sanctuary
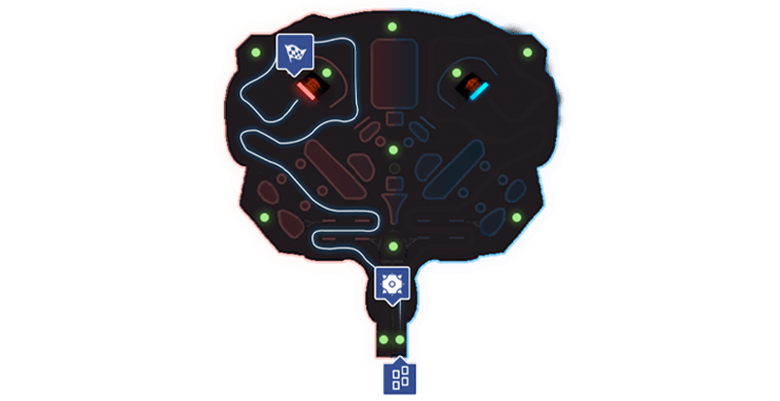
Rumor has it that the Metal Gods were able to imprison monsters into the depths of what was once known as Earth. To keep them hibernating, the Sect of Metal claims that sacrifices are needed, but nobody knows for sure. After the ruin of the old Temple, the Sect came up with a new Sacrifice Sanctuary. This Arena is filled with dangers, shortcuts, and droppers; an enabling environment for vehicles with strenghts on crowd control.
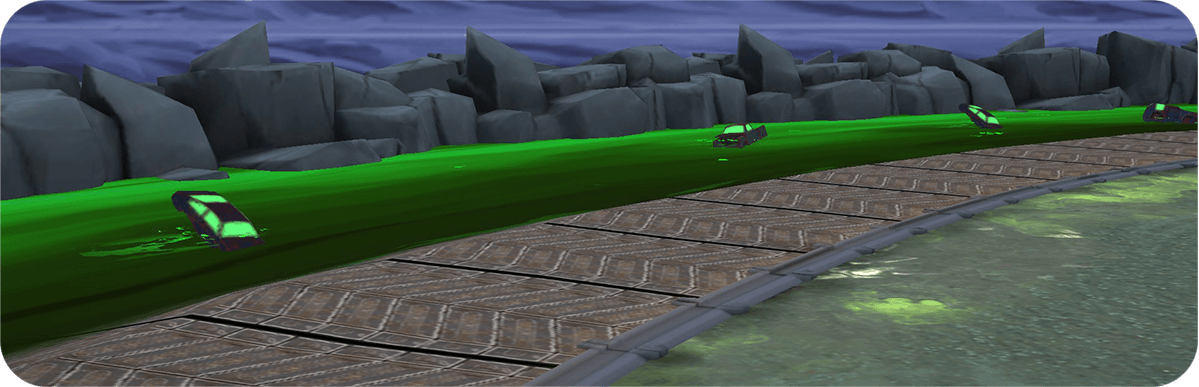
Cursed Necropolis
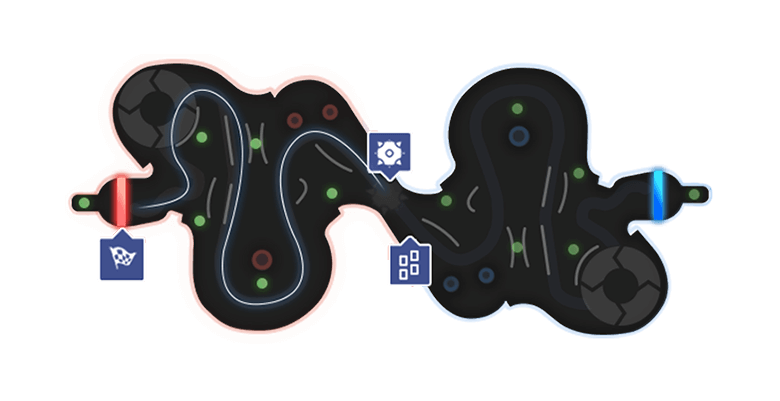
This holy ground was once home for Windrider's ancient tribe. Now, a cursed land, with acid being the only thing that remained from the massacre. Similar to Metal God Arena's way of playing, but has 2 additional features: treadmills that change speed and direction, as well as repellers, which will push the bomb if hit.
Special Zones inside the Arenas
Shortcuts
There are several shortcuts in the Arenas. Anyone not carrying the Bomb can pass through them to get ahead of the Transporter and Intercept them! The person holding the Bomb will have the shortcuts blocked by energy barriers called "Blockers" and must drive through the whole course.
Bomb Droppers
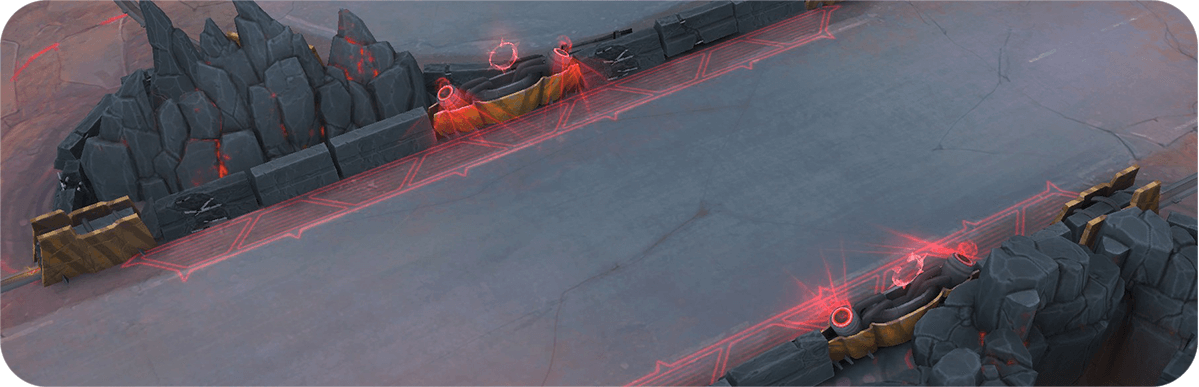
The Arenas also feature Bomb droppers. If the person carrying the Bomb passes through (or is thrown into) one of these, the Bomb will be ejected from their vehicle. The red ones will defend the enemy Team, so be careful around those. The blue ones will defend your base, so throw your enemies into them to make sure they lose the Bomb, then grab it! You can pass freely in the blue ones, they won't drop the Bomb from you.
Repair Charge
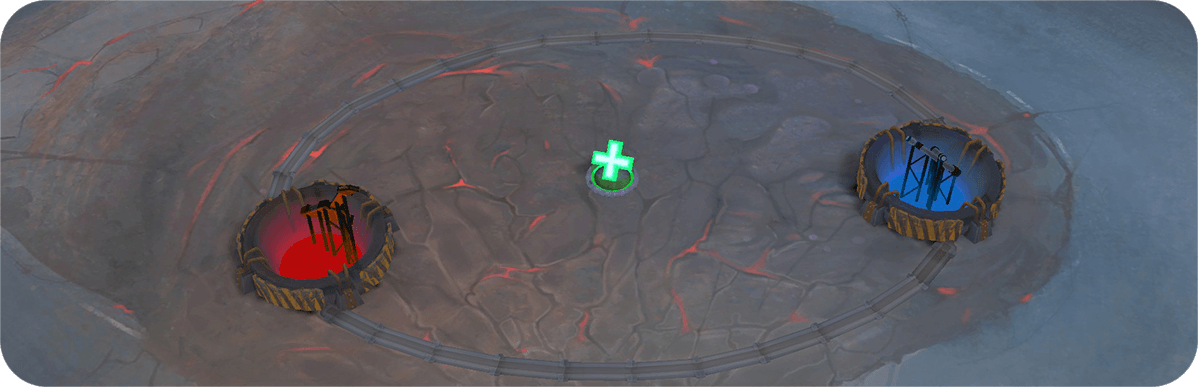
During the matches, the Machines will lose HP when they get hit by enemies. If the HP is entirely depleted, you're dead and must wait for the rebuilding duration. One of the ways to avoid dying is using the Repair Charges.
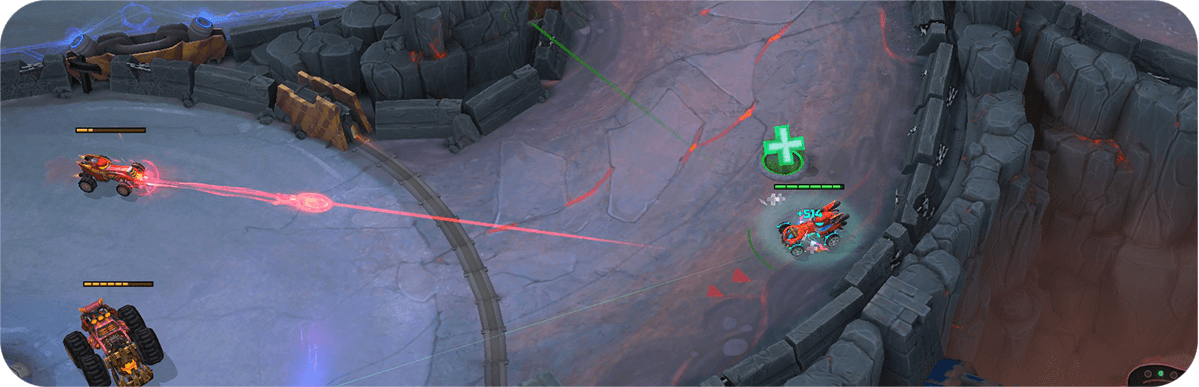
Repair Charges are spread throughout the Arenas, in specific locations. Upon driving over them, the machine will start self-repairing, up to full HP. It's worth noting that if two allies (or more) activate a Repair Charge simultaneously, both will activate it. If you take any damage while the self-repair is active, whether being hit by an enemy or even touching a hazard such as lava or acid, the self-repair will be halted. Be careful! With that in mind, you can choose to chase enemies trying to repair themselves and hit them, which can be very helpful to your team's efforts. You can also use weapons that have an area of damage over time to make that Repair Charge inaccessible to enemies for a certain period.
Some Repair Charges will be available in spaces near the combat, while others will have their area for self-repairing, but keep in mind that enemies can also access these locations. Another aspect to keep in mind is that, while carrying the Bomb, you'll never be able to reach a Repair Charge. Therefore you'll need to count on your allies for help, whether by providing repair/shield or even transporting the Bomb temporarily so you can make the repairs and come back to carrying the Bomb. It's on you to consider the risks and make the decision you feel is best! Last but not least, keep in mind that if you go back to your base, you'll have a safe Repair Charge, as your enemies won't be able to invade it.
Lava & Acid
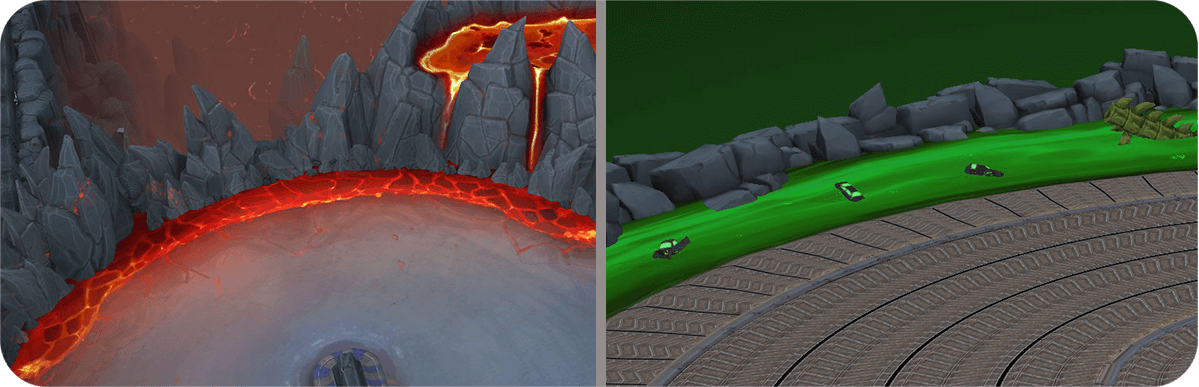
Oh… the sweet, sweet lava. It melts everything it touches. Throw your enemies in there and watch them burn with fiery damage. But do avoid racing through it! Not all arenas have lava, but that doesn’t mean you’re off the hook! Instead, you’ll find the Acid, which acts similarly to the lava (by causing damage over time), but causes more damage.
The Treadmills
If you are the type of person who tends to run away from treadmills, you already know what to do. These objects are placed in the boundaries of the Arena. While driving over them, they'll start moving your machine towards the acid, becoming a sacrifice to the Sect. To avoid it, make sure to keep driving and don't stand still while on top of them, no matter what. Oh, and keep in mind: some weapons can be handy for sacrificing enemies using these treadmills.
The Ritual Circle
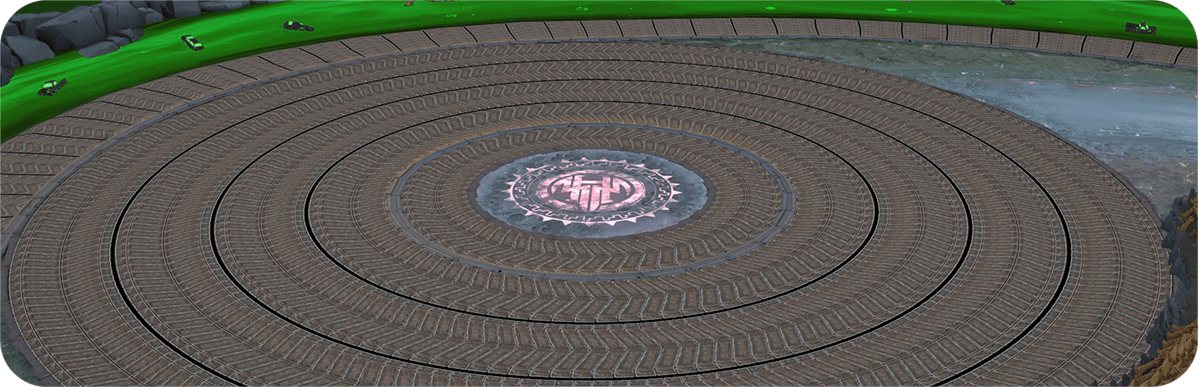
Upon developing the Treadmills, an idea came up to use that technology as a way to increase the efficiency of rituals, by making objects move circularly, repeatedly. Once they were used for offerings and chanting, but the Sect decided to keep it as it could be an exciting device for messing around with the pilots and make the HMM matches even more interesting. Their use is straightforward: if you move in the direction of the circular flow, your speed will increase, but the path will be longer, as well as if you run against it, you'll move slower, but have a shorter route. Which one is the best? The one that'll keep you alive, so select the path wisely, according to the positioning of other players.
The Repellers

Take these seriously! Upon seeing them, forget about just throwing the Bomb and do your best to aim and score. The reason being that if the Bomb touches these objects, they'll reflect it away, making sure that it'll only go through if your shot bullseye.
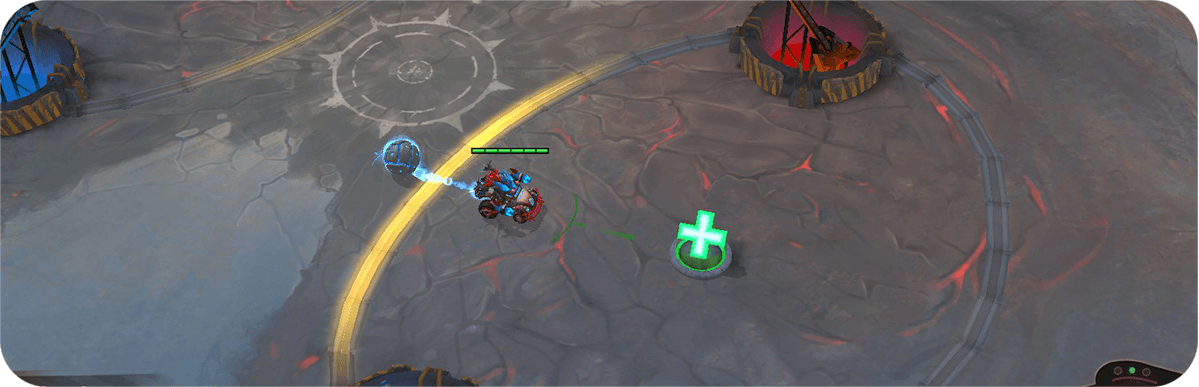
The GPS and mirror-like effect
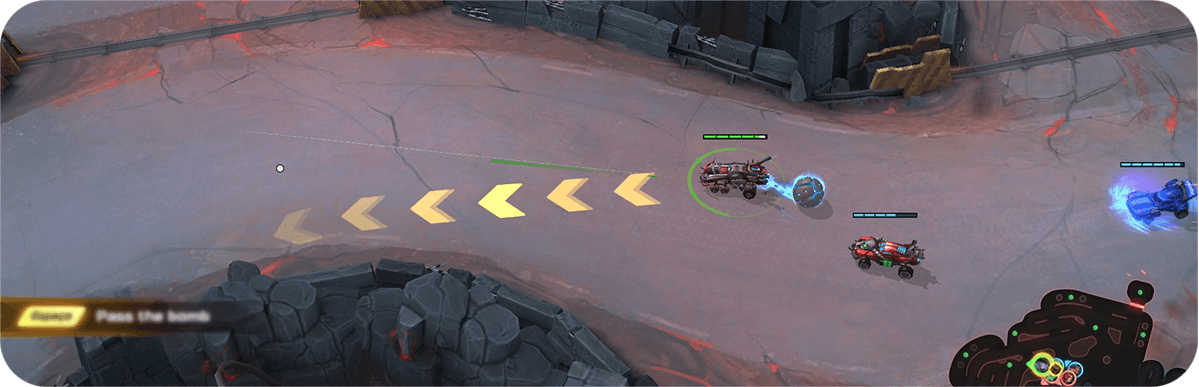
If you grab the Bomb, arrows will light up under your vehicle to guide you to the enemy base. Follow them, and make sure not to die. The Arenas are completely mirrored, which means your base is the same as your enemies', so whatever you see, they see. Just inverted. You will always defend the blue side and deliver on the red side.